Ever wondered how your phone, gaming console, or even your... Mostrar más
Exploring Computer-Aided Design (CAD): A Beginner's Guide

1 / 6
1
of 6
What is Computer-Aided Design?
Think of CAD as your digital drawing board, but way more powerful than anything you could imagine. Computer-Aided Design lets engineers, architects, and designers create incredibly precise 2D drawings and 3D models using specialised software.
The beauty of CAD lies in its versatility. You can design a phone case one day and help plan a skyscraper the next. It's revolutionised how we create things because it's faster, more accurate, and infinitely easier to modify than traditional hand-drawing methods.
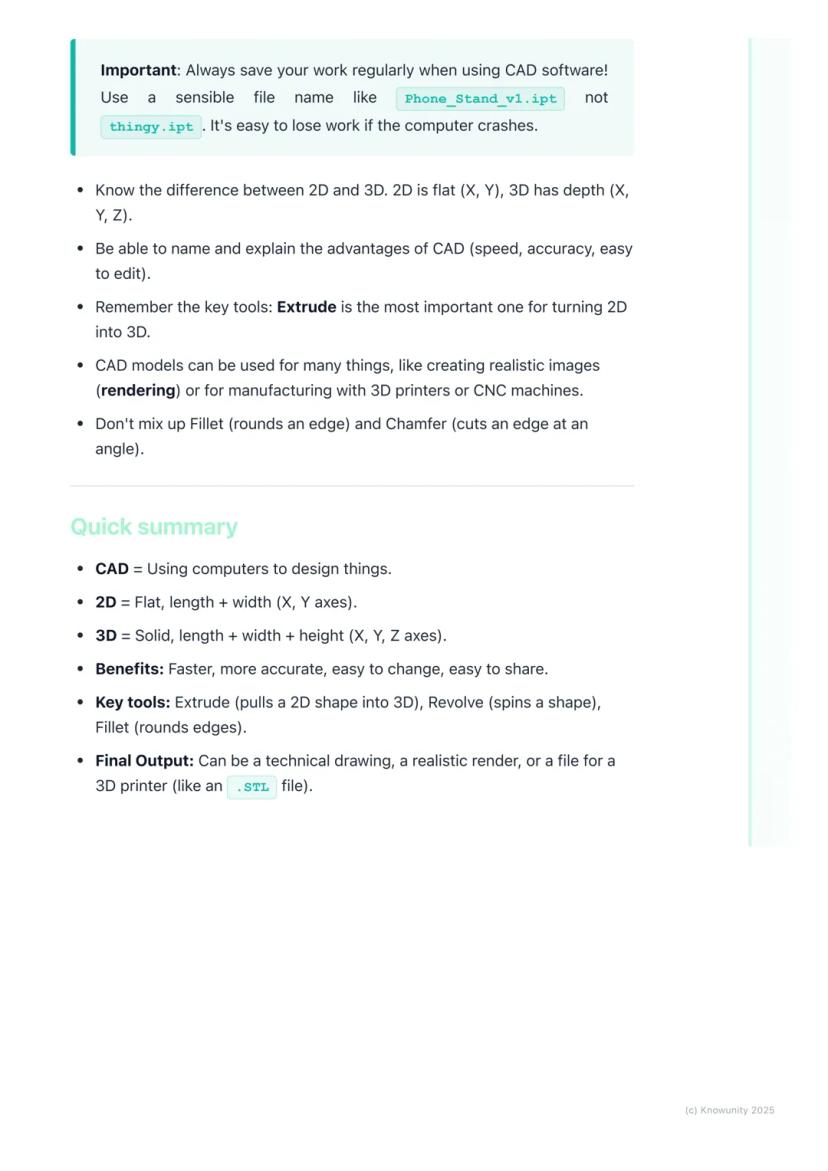
Key terms you'll need: A 2D design is flat with just length and width (X and Y axes), like a floor plan. A 3D model adds depth or height , creating solid objects you can view from any angle. Rendering transforms your basic 3D model into a photorealistic image with proper lighting and textures.
Quick Tip: Remember that orthographic projection - those front, top, and side views from traditional TG - can be generated automatically in CAD software!
2
of 6
2D vs 3D CAD Explained
2D CAD works like an incredibly precise electronic drawing board. You'll use commands to draw lines, circles, and arcs with perfect measurements that the software tracks for you. It's brilliant for creating floor plans, circuit diagrams, or profiles for laser cutting.
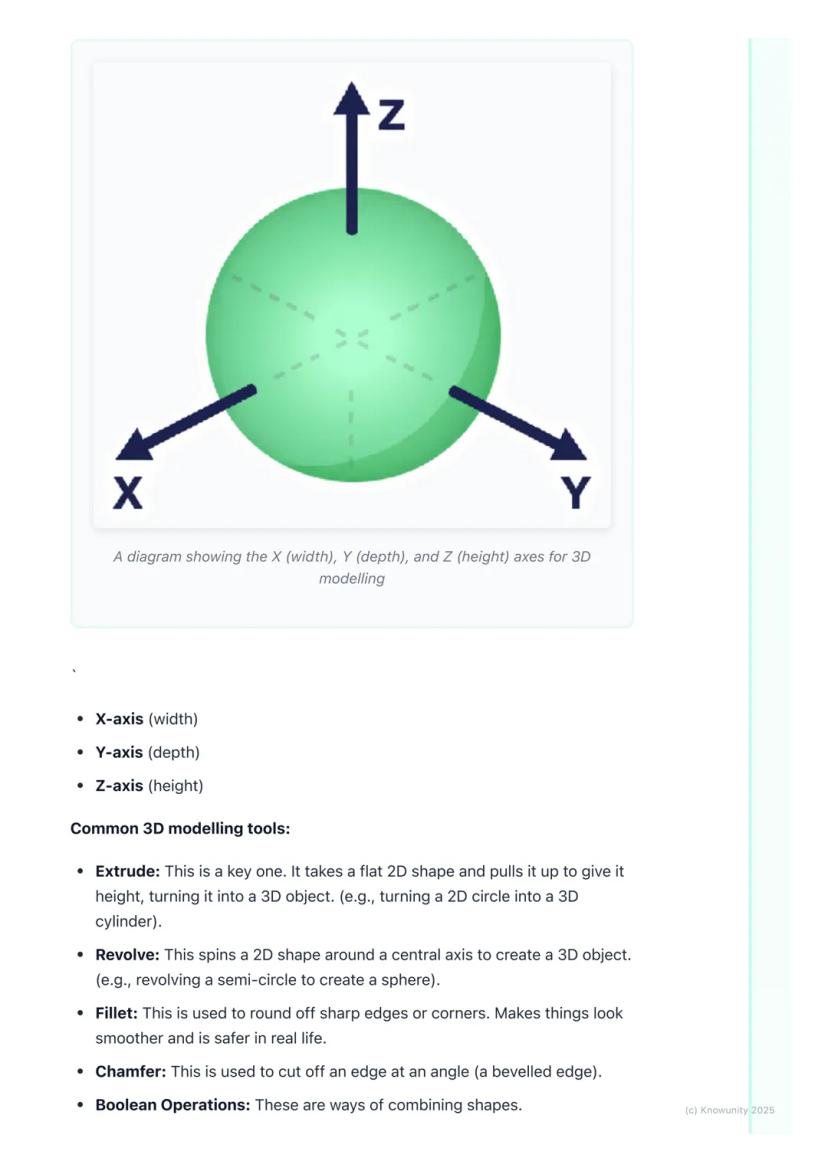
3D CAD is where things get exciting - you're essentially digital sculpting! Most 3D work starts with a 2D sketch that you then transform into a solid object by giving it depth. Remember the three axes: X-axis (width), Y-axis (depth), and Z-axis (height).
The most important 3D tool is extrude - it takes any flat 2D shape and pulls it up to create height, turning a circle into a cylinder or a square into a cube. Revolve spins a 2D shape around an axis (imagine spinning a semicircle to create a sphere).
Remember: Understanding these axes is crucial - they're the foundation of all 3D modelling work you'll do.
3
of 6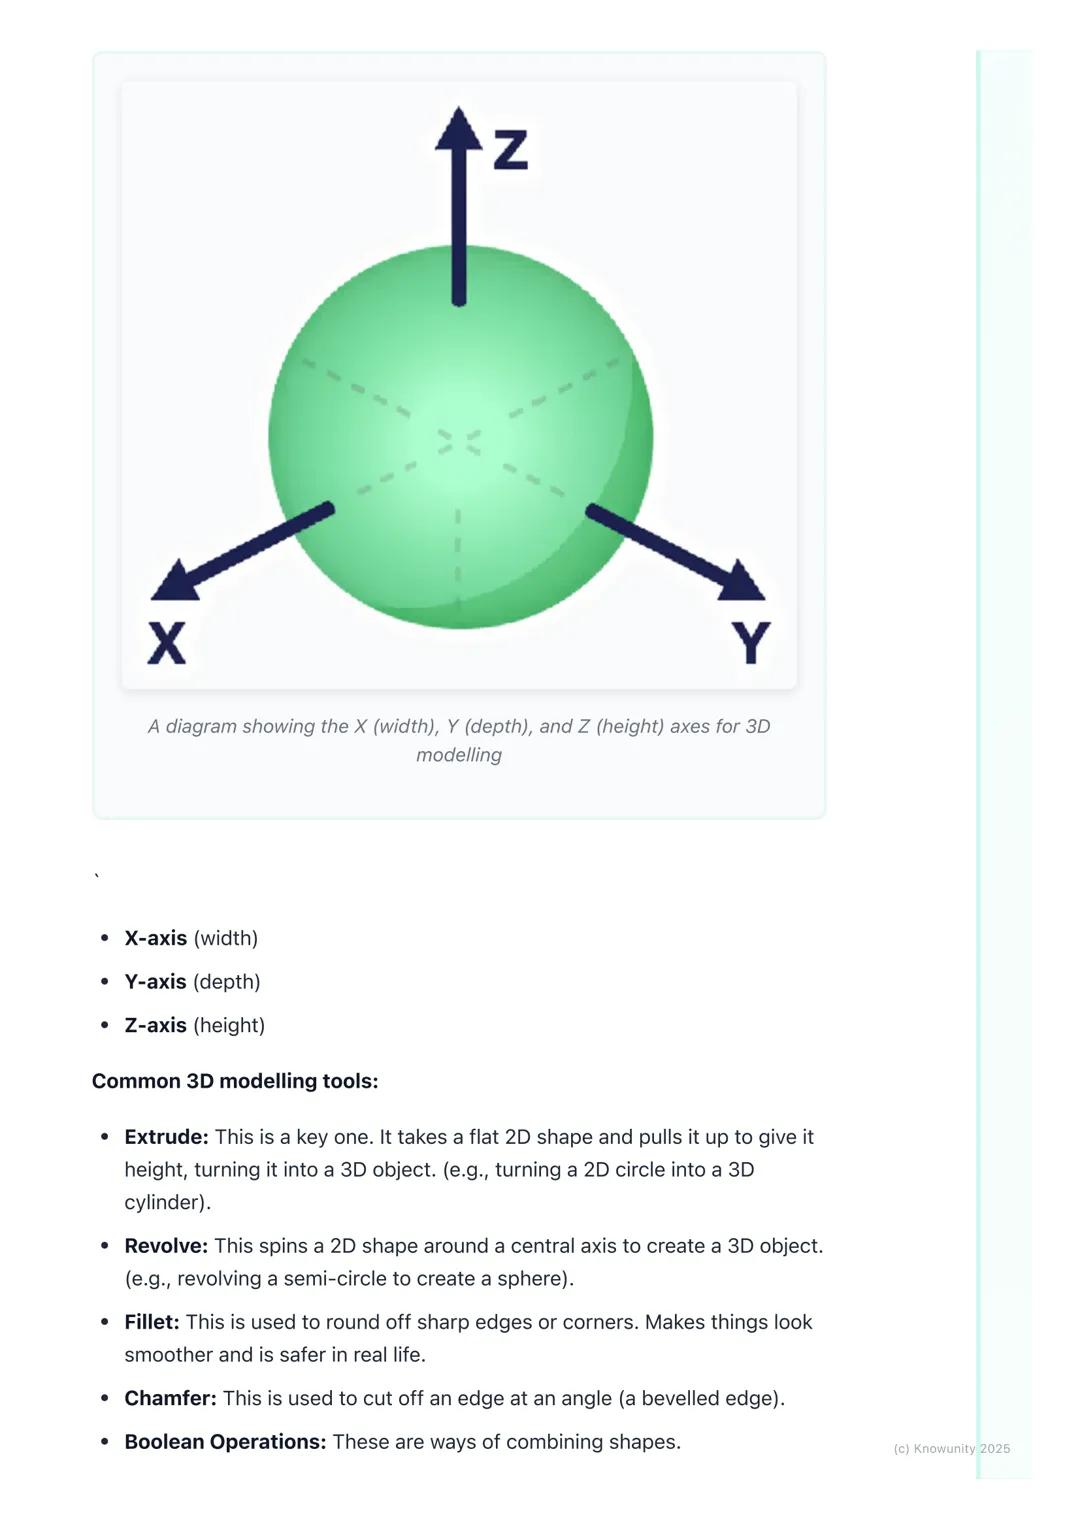
Essential 3D Modelling Tools
Once you've got your basic 3D shape, you'll need tools to refine it. Fillet rounds off sharp edges to make objects look smoother and safer, while chamfer cuts edges at an angle for a bevelled look.
Boolean operations are your shape-combining superpowers. Union fuses multiple shapes into one object - perfect for building complex designs from simple parts. Subtract uses one shape to cut holes in another, whilst intersect keeps only the overlapping parts of two shapes.
These tools might seem basic, but they're the building blocks of every complex CAD model you'll ever see. Master these fundamentals, and you'll be amazed at what you can create.
Pro Tip: Boolean operations are like digital Lego - you can build incredibly complex objects by cleverly combining simple shapes!
4
of 6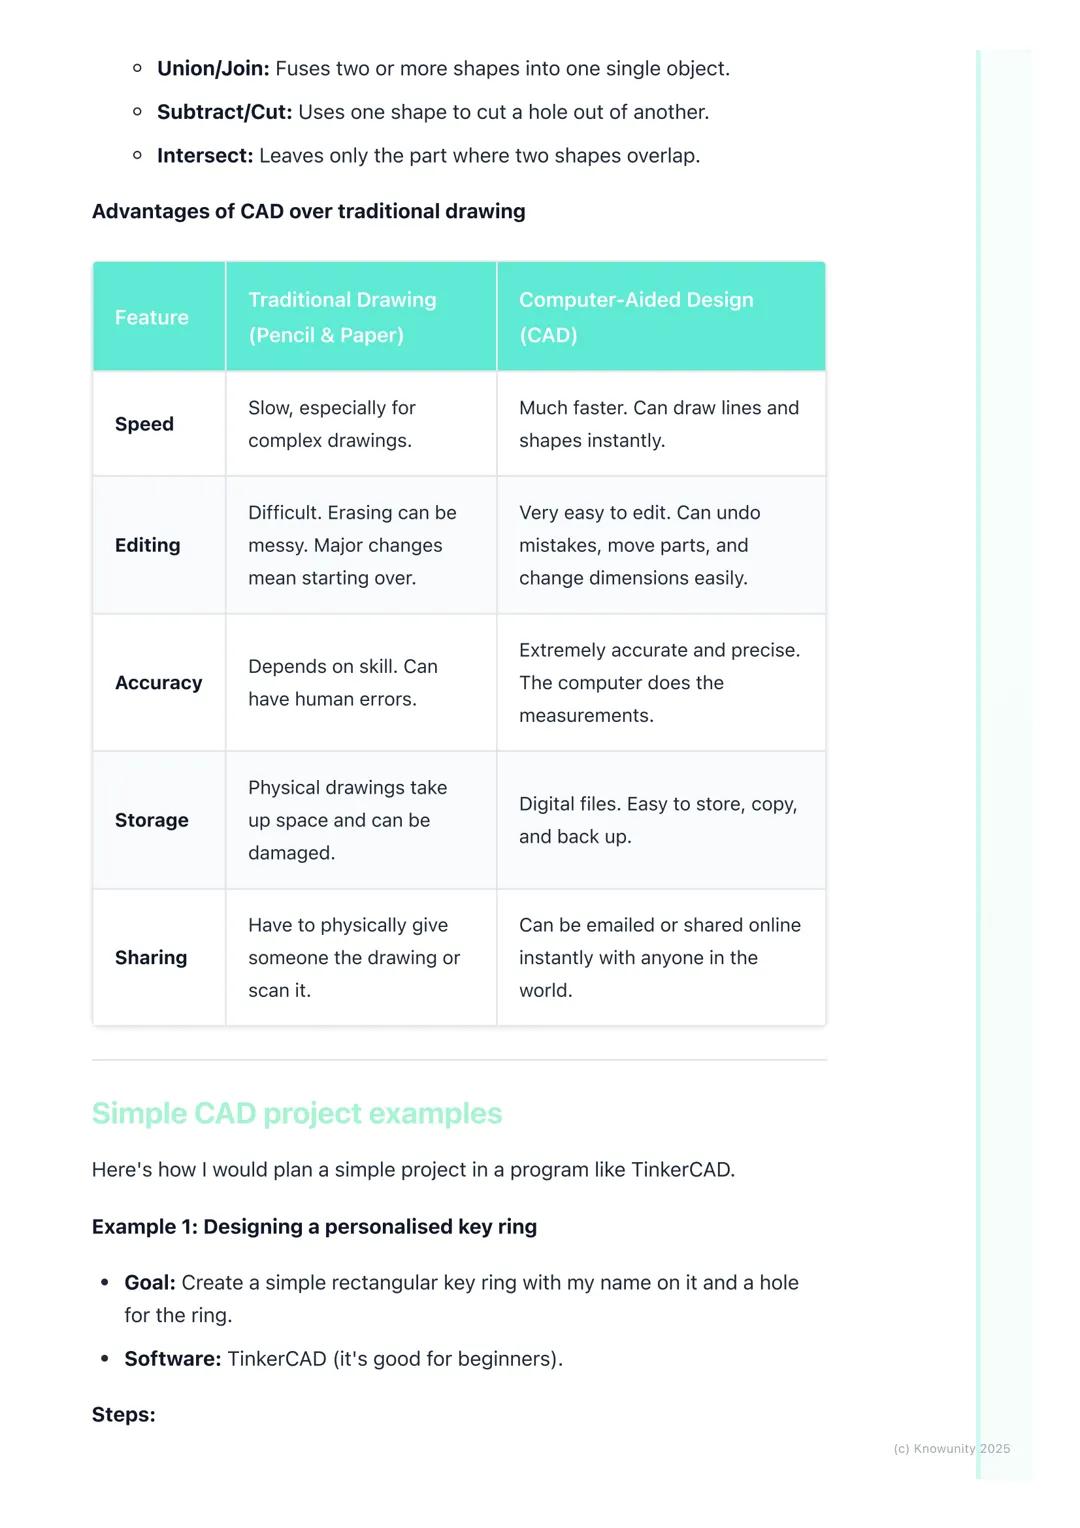
Why CAD Beats Traditional Drawing
Let's be honest - CAD absolutely destroys traditional pencil-and-paper drawing in almost every way that matters. Speed? CAD wins - you can create perfect lines and shapes instantly. Accuracy? The computer handles all measurements, eliminating human error completely.
Making changes is where CAD truly shines. Messed up a dimension in traditional drawing? Start over. In CAD? Just click, edit, and you're done. Need to move an entire section? Drag and drop. Want to try a different design approach? Save a copy and experiment freely.
Storage and sharing are game-changers too. Physical drawings take up space, can be damaged, and sharing means photocopying or scanning. Digital CAD files can be stored forever, backed up easily, and shared instantly with anyone worldwide.
Real Talk: While traditional drawing skills are still valuable, CAD is what you'll actually use in most design careers.
5
of 6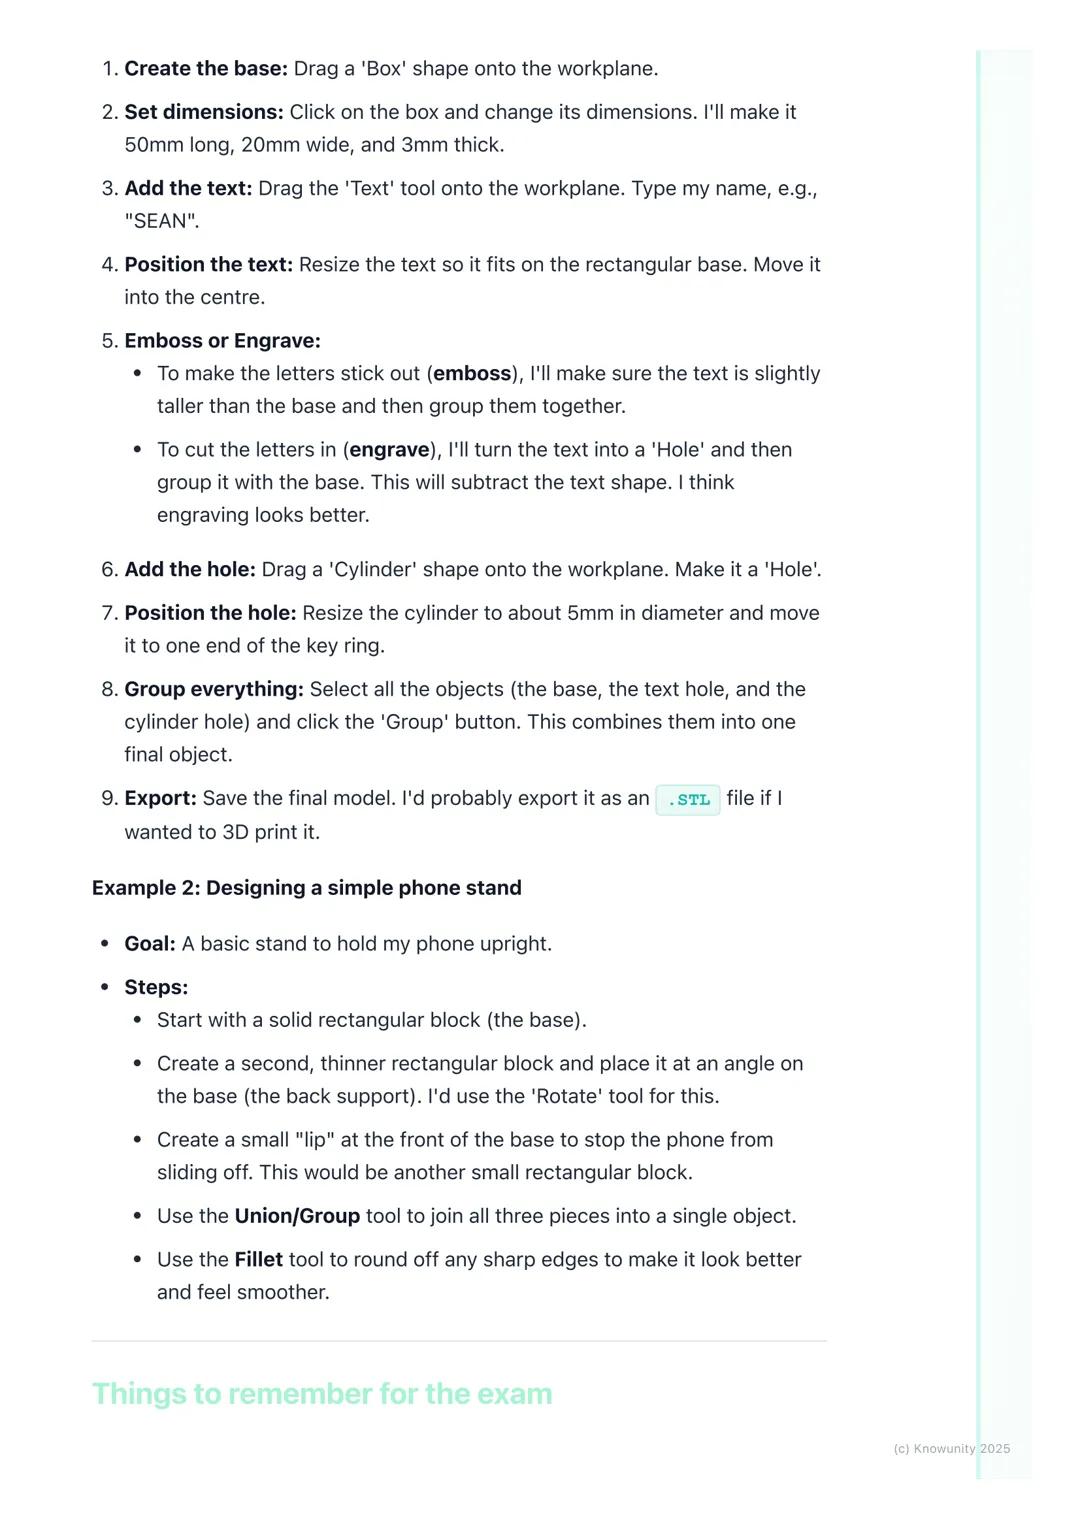
Practical CAD Project Walkthrough
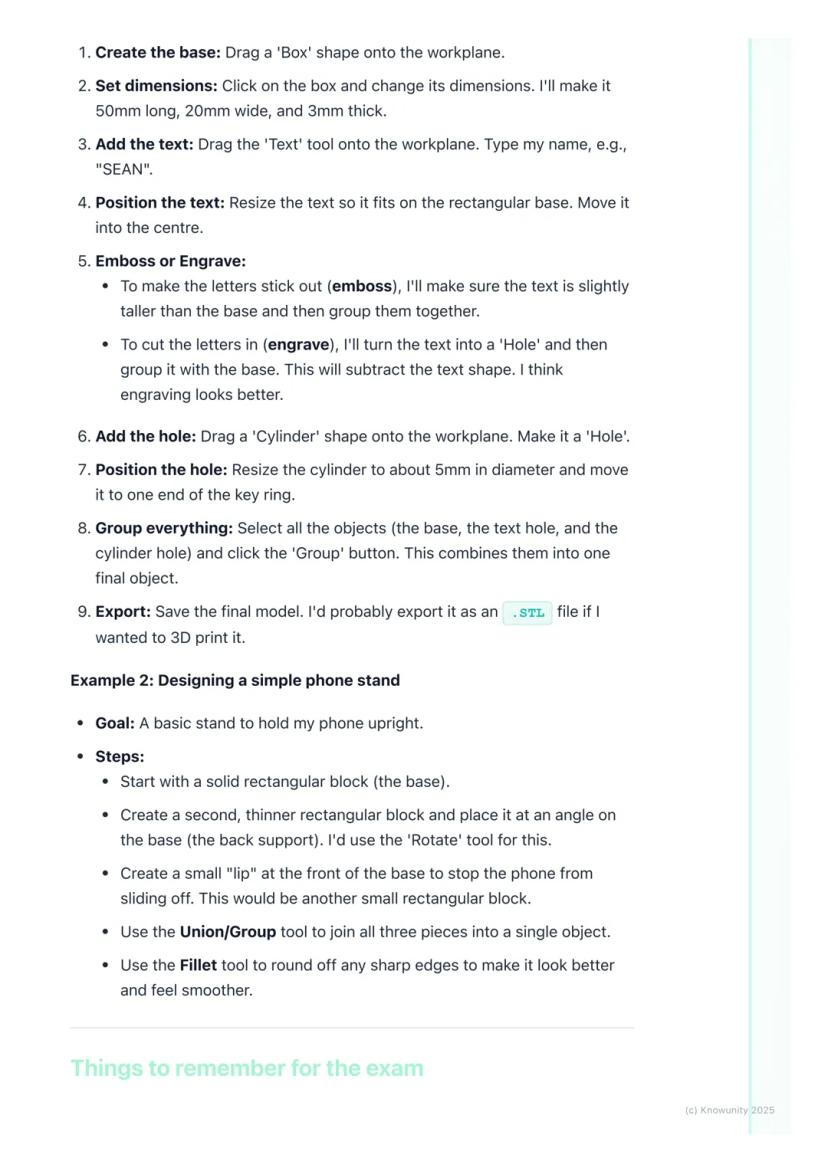
Let's design something you'd actually want - a personalised keyring using TinkerCAD. Start by dragging a box shape onto the workspace and resize it to 50mm long, 20mm wide, and 3mm thick.
Add your name using the text tool, then decide: do you want it raised (embossed) or carved in (engraved)? For engraving, change the text to a 'hole' and group it with the base - this subtracts the letters, creating carved text.
Create the key hole by adding a cylinder, making it a 'hole', and positioning it at one end. Finally, select everything and hit 'Group' to combine all elements into one finished object.
For a phone stand project, you'd build it from three basic rectangles: a base, an angled back support (use the rotate tool), and a small lip at the front to prevent sliding. Group them together and use fillet to smooth any sharp edges.
Success Strategy: Always save regularly with clear filenames like 'Keyring_v2.stl' - not 'random_thing.file'!
6
of 6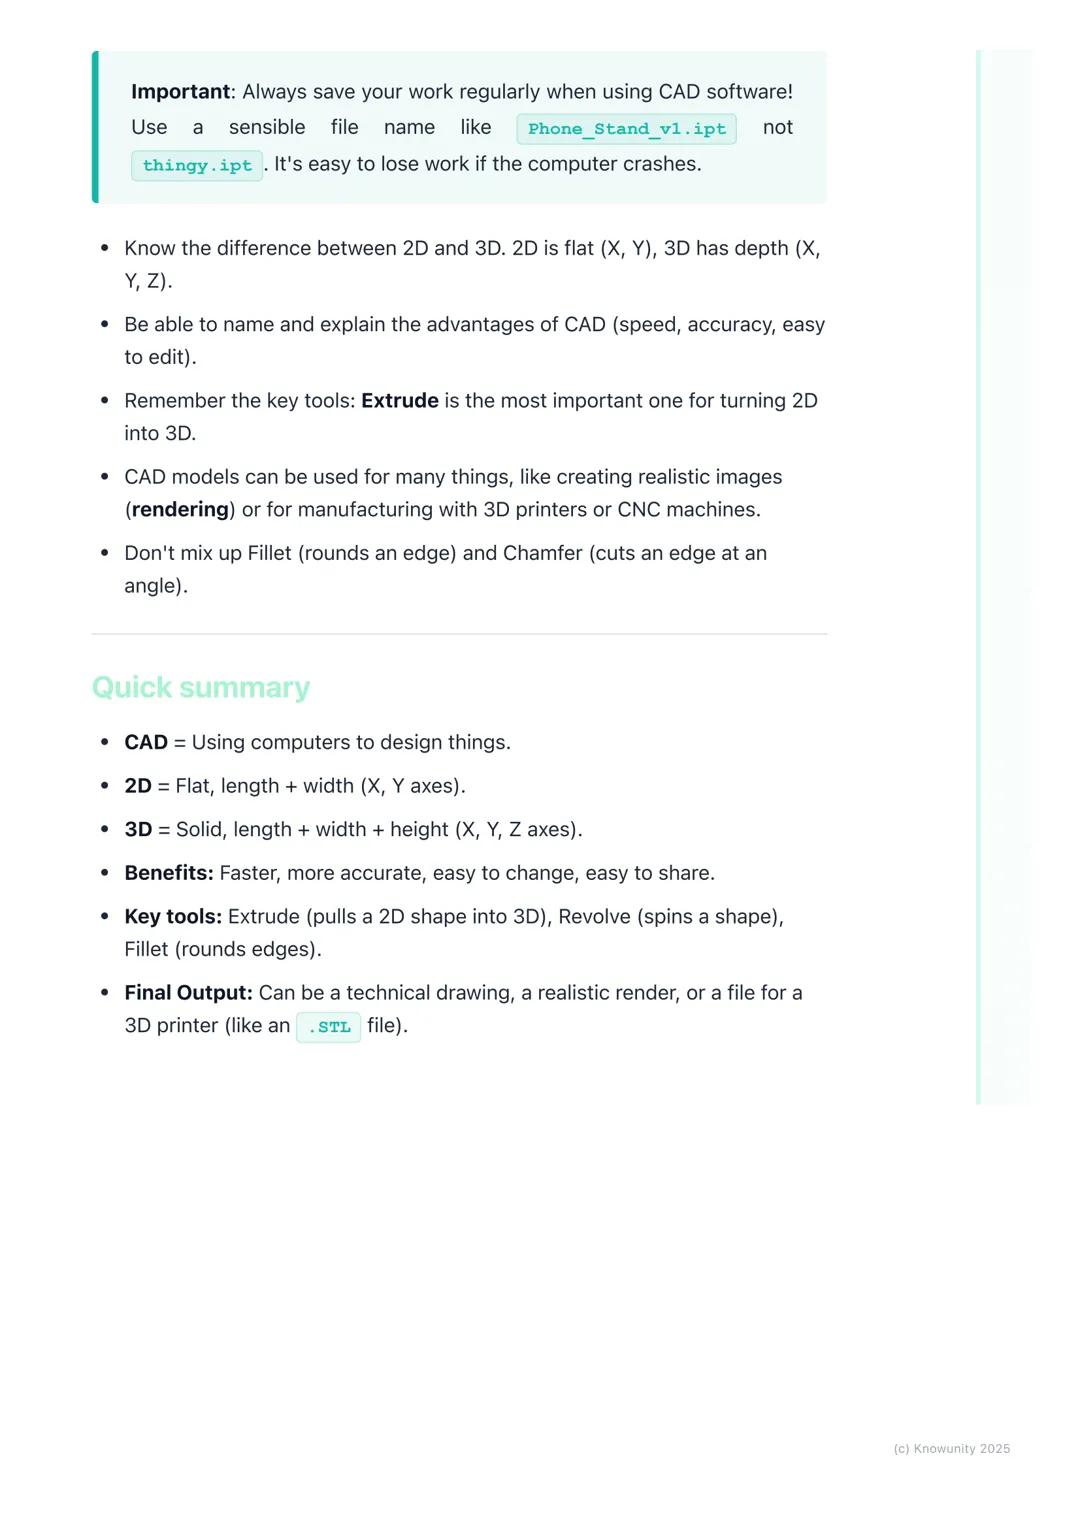
Exam Essentials and Quick Reference
Here's what you absolutely must remember: 2D uses X and Y axes (flat), 3D adds the Z-axis . The main advantages of CAD are speed, accuracy, easy editing, and instant sharing capabilities.
Extrude is your most important tool - it transforms any 2D sketch into a 3D object by adding height. Don't confuse fillet (rounds edges) with chamfer (angled cuts) - they're completely different operations.
Your CAD models can become realistic images through rendering, physical objects via 3D printing, or technical drawings for manufacturing. The versatility is what makes CAD so powerful in modern design work.
Quick memory tricks: 2D = flat like paper, 3D = solid like objects around you. Extrude = pull up, Revolve = spin around, Boolean = combine or subtract shapes.
Final Reminder: CAD isn't just about knowing the tools - it's about thinking in 3D and breaking complex objects down into simple, manageable shapes.
Pensamos que nunca lo preguntarías...
¿Qué es Knowunity AI companion?
Nuestro compañero de IA está específicamente adaptado a las necesidades de los estudiantes. Basándonos en los millones de contenidos que tenemos en la plataforma, podemos dar a los estudiantes respuestas realmente significativas y relevantes. Pero no se trata solo de respuestas, el compañero también guía a los estudiantes a través de sus retos de aprendizaje diarios, con planes de aprendizaje personalizados, cuestionarios o contenidos en el chat y una personalización del 100% basada en las habilidades y el desarrollo de los estudiantes.
¿Dónde puedo descargar la app Knowunity?
Puedes descargar la app en Google Play Store y Apple App Store.
¿Knowunity es totalmente gratuito?
¡Sí lo es! Tienes acceso totalmente gratuito a todo el contenido de la app, puedes chatear con otros alumnos y recibir ayuda inmeditamente. Puedes ganar dinero utilizando la aplicación, que te permitirá acceder a determinadas funciones.
Contenidos más populares
9¿No encuentras lo que buscas? Explora otros temas.
Mira lo que dicen nuestros usuarios. Les encantó — y a ti también te encantará.
4.6/5App Store
4.7/5Google Play
La app es muy fácil de usar y está muy bien diseñada. Hasta ahora he encontrado todo lo que estaba buscando y he podido aprender mucho de las presentaciones. Definitivamente utilizaré la aplicación para un examen de clase. Y, por supuesto, también me sirve mucho de inspiración.
Pablousuario de iOS
Esta app es realmente genial. Hay tantos apuntes de clase y ayuda [...]. Tengo problemas con matemáticas, por ejemplo, y la aplicación tiene muchas opciones de ayuda. Gracias a Knowunity, he mejorado en mates. Se la recomiendo a todo el mundo.
Elenausuaria de Android
Vaya, estoy realmente sorprendida. Acabo de probar la app porque la he visto anunciada muchas veces y me he quedado absolutamente alucinada. Esta app es LA AYUDA que quieres para el insti y, sobre todo, ofrece muchísimas cosas, como ejercicios y hojas informativas, que a mí personalmente me han sido MUY útiles.
Anausuaria de iOS
Exploring Computer-Aided Design (CAD): A Beginner's Guide
Ever wondered how your phone, gaming console, or even your house was designed before being built? Computer-Aided Design (CAD)is the digital tool that makes it all possible. Instead of sketching with pencil and paper like traditional Technical Graphics, designers... Mostrar más
1
of 6Inscríbete para ver los apuntes. ¡Es gratis!
- Acceso a todos los documentos
- Mejora tus notas
- Únete a millones de estudiantes
What is Computer-Aided Design?
Think of CAD as your digital drawing board, but way more powerful than anything you could imagine. Computer-Aided Design lets engineers, architects, and designers create incredibly precise 2D drawings and 3D models using specialised software.
The beauty of CAD lies in its versatility. You can design a phone case one day and help plan a skyscraper the next. It's revolutionised how we create things because it's faster, more accurate, and infinitely easier to modify than traditional hand-drawing methods.
Key terms you'll need: A 2D design is flat with just length and width (X and Y axes), like a floor plan. A 3D model adds depth or height , creating solid objects you can view from any angle. Rendering transforms your basic 3D model into a photorealistic image with proper lighting and textures.
Quick Tip: Remember that orthographic projection - those front, top, and side views from traditional TG - can be generated automatically in CAD software!
2
of 6Inscríbete para ver los apuntes. ¡Es gratis!
- Acceso a todos los documentos
- Mejora tus notas
- Únete a millones de estudiantes
2D vs 3D CAD Explained
2D CAD works like an incredibly precise electronic drawing board. You'll use commands to draw lines, circles, and arcs with perfect measurements that the software tracks for you. It's brilliant for creating floor plans, circuit diagrams, or profiles for laser cutting.
3D CAD is where things get exciting - you're essentially digital sculpting! Most 3D work starts with a 2D sketch that you then transform into a solid object by giving it depth. Remember the three axes: X-axis (width), Y-axis (depth), and Z-axis (height).
The most important 3D tool is extrude - it takes any flat 2D shape and pulls it up to create height, turning a circle into a cylinder or a square into a cube. Revolve spins a 2D shape around an axis (imagine spinning a semicircle to create a sphere).
Remember: Understanding these axes is crucial - they're the foundation of all 3D modelling work you'll do.
3
of 6Inscríbete para ver los apuntes. ¡Es gratis!
- Acceso a todos los documentos
- Mejora tus notas
- Únete a millones de estudiantes
Essential 3D Modelling Tools
Once you've got your basic 3D shape, you'll need tools to refine it. Fillet rounds off sharp edges to make objects look smoother and safer, while chamfer cuts edges at an angle for a bevelled look.
Boolean operations are your shape-combining superpowers. Union fuses multiple shapes into one object - perfect for building complex designs from simple parts. Subtract uses one shape to cut holes in another, whilst intersect keeps only the overlapping parts of two shapes.
These tools might seem basic, but they're the building blocks of every complex CAD model you'll ever see. Master these fundamentals, and you'll be amazed at what you can create.
Pro Tip: Boolean operations are like digital Lego - you can build incredibly complex objects by cleverly combining simple shapes!
4
of 6Inscríbete para ver los apuntes. ¡Es gratis!
- Acceso a todos los documentos
- Mejora tus notas
- Únete a millones de estudiantes
Why CAD Beats Traditional Drawing
Let's be honest - CAD absolutely destroys traditional pencil-and-paper drawing in almost every way that matters. Speed? CAD wins - you can create perfect lines and shapes instantly. Accuracy? The computer handles all measurements, eliminating human error completely.
Making changes is where CAD truly shines. Messed up a dimension in traditional drawing? Start over. In CAD? Just click, edit, and you're done. Need to move an entire section? Drag and drop. Want to try a different design approach? Save a copy and experiment freely.
Storage and sharing are game-changers too. Physical drawings take up space, can be damaged, and sharing means photocopying or scanning. Digital CAD files can be stored forever, backed up easily, and shared instantly with anyone worldwide.
Real Talk: While traditional drawing skills are still valuable, CAD is what you'll actually use in most design careers.
5
of 6Inscríbete para ver los apuntes. ¡Es gratis!
- Acceso a todos los documentos
- Mejora tus notas
- Únete a millones de estudiantes
Practical CAD Project Walkthrough
Let's design something you'd actually want - a personalised keyring using TinkerCAD. Start by dragging a box shape onto the workspace and resize it to 50mm long, 20mm wide, and 3mm thick.
Add your name using the text tool, then decide: do you want it raised (embossed) or carved in (engraved)? For engraving, change the text to a 'hole' and group it with the base - this subtracts the letters, creating carved text.
Create the key hole by adding a cylinder, making it a 'hole', and positioning it at one end. Finally, select everything and hit 'Group' to combine all elements into one finished object.
For a phone stand project, you'd build it from three basic rectangles: a base, an angled back support (use the rotate tool), and a small lip at the front to prevent sliding. Group them together and use fillet to smooth any sharp edges.
Success Strategy: Always save regularly with clear filenames like 'Keyring_v2.stl' - not 'random_thing.file'!
6
of 6Inscríbete para ver los apuntes. ¡Es gratis!
- Acceso a todos los documentos
- Mejora tus notas
- Únete a millones de estudiantes
Exam Essentials and Quick Reference
Here's what you absolutely must remember: 2D uses X and Y axes (flat), 3D adds the Z-axis . The main advantages of CAD are speed, accuracy, easy editing, and instant sharing capabilities.
Extrude is your most important tool - it transforms any 2D sketch into a 3D object by adding height. Don't confuse fillet (rounds edges) with chamfer (angled cuts) - they're completely different operations.
Your CAD models can become realistic images through rendering, physical objects via 3D printing, or technical drawings for manufacturing. The versatility is what makes CAD so powerful in modern design work.
Quick memory tricks: 2D = flat like paper, 3D = solid like objects around you. Extrude = pull up, Revolve = spin around, Boolean = combine or subtract shapes.
Final Reminder: CAD isn't just about knowing the tools - it's about thinking in 3D and breaking complex objects down into simple, manageable shapes.
Pensamos que nunca lo preguntarías...
¿Qué es Knowunity AI companion?
Nuestro compañero de IA está específicamente adaptado a las necesidades de los estudiantes. Basándonos en los millones de contenidos que tenemos en la plataforma, podemos dar a los estudiantes respuestas realmente significativas y relevantes. Pero no se trata solo de respuestas, el compañero también guía a los estudiantes a través de sus retos de aprendizaje diarios, con planes de aprendizaje personalizados, cuestionarios o contenidos en el chat y una personalización del 100% basada en las habilidades y el desarrollo de los estudiantes.
¿Dónde puedo descargar la app Knowunity?
Puedes descargar la app en Google Play Store y Apple App Store.
¿Knowunity es totalmente gratuito?
¡Sí lo es! Tienes acceso totalmente gratuito a todo el contenido de la app, puedes chatear con otros alumnos y recibir ayuda inmeditamente. Puedes ganar dinero utilizando la aplicación, que te permitirá acceder a determinadas funciones.
Contenidos más populares
9¿No encuentras lo que buscas? Explora otros temas.
Mira lo que dicen nuestros usuarios. Les encantó — y a ti también te encantará.
4.6/5App Store
4.7/5Google Play
La app es muy fácil de usar y está muy bien diseñada. Hasta ahora he encontrado todo lo que estaba buscando y he podido aprender mucho de las presentaciones. Definitivamente utilizaré la aplicación para un examen de clase. Y, por supuesto, también me sirve mucho de inspiración.
Pablousuario de iOS
Esta app es realmente genial. Hay tantos apuntes de clase y ayuda [...]. Tengo problemas con matemáticas, por ejemplo, y la aplicación tiene muchas opciones de ayuda. Gracias a Knowunity, he mejorado en mates. Se la recomiendo a todo el mundo.
Elenausuaria de Android
Vaya, estoy realmente sorprendida. Acabo de probar la app porque la he visto anunciada muchas veces y me he quedado absolutamente alucinada. Esta app es LA AYUDA que quieres para el insti y, sobre todo, ofrece muchísimas cosas, como ejercicios y hojas informativas, que a mí personalmente me han sido MUY útiles.
Anausuaria de iOS